
Personalize your phone and unleash your inner artist with the magic of resin phone cases! Crafting your own resin phone case allows you to create a unique and eye-catching accessory that reflects your style. This comprehensive guide walks you through everything you need to know to embark on this exciting DIY project.
The Allure of Resin Phone Cases: Beyond the Ordinary
Resin phone cases offer a multitude of advantages over traditional cases:
-
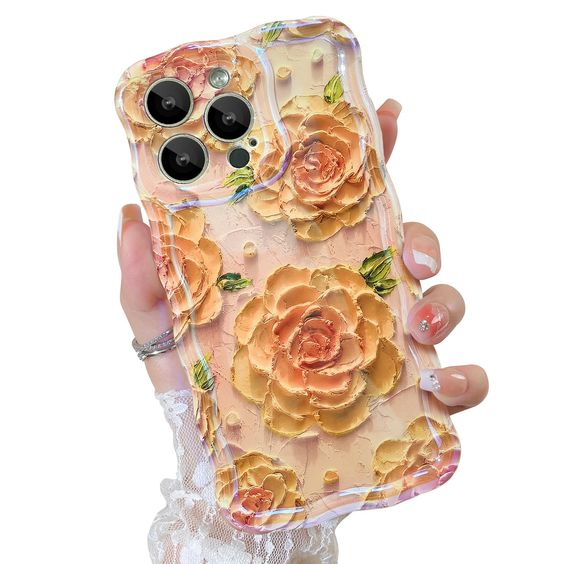
Uniqueness: Express yourself! Resin allows you to incorporate various elements like dried flowers, glitter, or photographs, creating a one-of-a-kind phone case that nobody else will have.
-
Durability: Resin cures into a strong and protective layer, safeguarding your phone from scratches, bumps, and minor drops.
-
Customization: The possibilities are endless! Experiment with different colors, textures, and embellishments to create a case that perfectly complements your style.
-
Gifting Potential: Handmade resin phone cases make thoughtful and personalized gifts for friends, family, or tech enthusiasts.
Whether you’re a seasoned crafter or a curious beginner, creating a resin phone case is a rewarding and enjoyable experience.
Gathering Your Supplies: Essential Tools for Resin Magic
Before diving into the creation process, ensure you have all the necessary supplies:
-
Clear Casting Resin: This is the star of the show! Choose high-quality resin specifically formulated for casting applications.
-
Resin Hardener: Mixed with the resin in a specific ratio, the hardener initiates the curing process that transforms the liquid resin into a solid form.
-
Silicone Molds: Reusable silicone molds come in various phone case styles and designs. Choose a mold compatible with your phone model.
-
Measuring Cups and Mixing Sticks: Accurate measurements are crucial for successful resin casting. Use designated tools for mixing and pouring the resin.
-
Safety Gear: Protect yourself while working with resin. Wear gloves and a respirator, especially if you have any sensitivities.
-
Optional Extras: Let your creativity flow! Consider incorporating dried flowers, glitter, pigments, beads, or other embellishments to personalize your case.
-
Clear Phone Case (Optional): While not necessary for all techniques, some crafters prefer to use a clear phone case as a base for their resin design.
Invest in a silicone mat or disposable tablecloth to protect your workspace during the creation process.
With your supplies gathered and creativity ignited, let’s move on to the exciting part – creating your masterpiece!
Mastering the Mix: Safety Precautions and Resin Preparation
Working with resin requires following proper safety protocols to ensure a positive crafting experience. Here are some key points to remember:
-
Read and Follow Instructions: Always thoroughly read the instructions and safety warnings provided by the resin manufacturer. Different resin brands may have slight variations in mixing ratios and cure times.
-
Well-Ventilated Space: Ensure you’re working in a well-ventilated area with good air circulation. Open windows or use a fan to disperse any resin fumes.
-
Protective Gear: Wear gloves and a respirator to minimize skin contact and inhalation of resin fumes. Safety glasses are also recommended to protect your eyes from splashes.
-
Work Surface Protection: Cover your workspace with a disposable tablecloth or silicone mat to prevent spills and make cleanup easier.
Now that safety is addressed, let’s delve into the resin preparation process:
-
Measure Precisely: Using designated measuring cups, accurately measure the required amount of resin and hardener according to the manufacturer’s instructions. Mixing ratios are typically exact, so precise measurement is crucial for proper curing.
-
Mixing Magic: Pour the measured resin into a clean mixing container. Slowly add the hardener to the resin and stir gently but thoroughly for several minutes. Scrape the sides and bottom of the container to ensure all components are well combined.
-
Banishing Bubbles: Stirring can introduce air bubbles into the resin mixture. Let the mixed resin sit for a few minutes to allow any trapped air bubbles to rise to the surface. You can also use a heat gun (on low heat setting) to gently disperse any remaining bubbles.
Double-check the mixing ratio! Incorrect ratios can affect the curing process and the final properties of the resin.
With the resin prepared and safety measures in place, we’re ready to embark on the pouring process and bring your phone case design to life!
Pouring with Precision: Bringing Your Resin Phone Case to Life
The pouring stage is where your creative vision takes center stage! Here’s a step-by-step guide to ensure a smooth and successful pour:

-
Prepare Your Mold: If using a silicone mold, ensure it’s clean, dry, and free of any dust or debris. You can lightly mist the mold with a water sprayer (avoid using excess water) to create a slight sheen that can aid in easier removal of the cured resin case later.
-
Case Placement (Optional): If using a clear phone case as a base, carefully place it inside the silicone mold, ensuring it’s centered and positioned correctly.
-
Pouring the Resin: Slowly and steadily pour the mixed resin into the mold, taking care to avoid overflowing. A slow pour helps minimize air bubbles. Pour until the resin reaches the desired level in the mold, keeping in mind the thickness of your phone case design.
-
Resin Distribution: Once poured, gently tilt and swirl the mold to distribute the resin evenly and ensure it coats all areas of the mold, including corners and edges. A toothpick can be helpful for removing any stubborn air bubbles that may appear on the surface.
-
Let Creativity Bloom (Optional): This is where your artistic flair shines! If incorporating embellishments like dried flowers, glitter, or pigments, carefully add them to the poured resin before it starts to cure. Use tweezers for precise placement, and ensure the elements are fully submerged in the resin to prevent them from floating to the surface later.
Work in small batches, especially if you’re a beginner. This allows for more control during pouring and reduces the risk of mistakes.
After pouring and adding your creative touches, allow the resin to cure completely. Curing times can vary depending on the resin brand and thickness, so refer to the manufacturer’s instructions for specific guidelines. Generally, it can take anywhere from 12 to 24 hours for the resin to fully harden.
Embrace the Creative Journey: Dive Deeper into the World of Resin Crafting
Creating a resin phone case is just the beginning of your resin crafting adventure! Here are some inspiring ideas to spark further creativity:
-
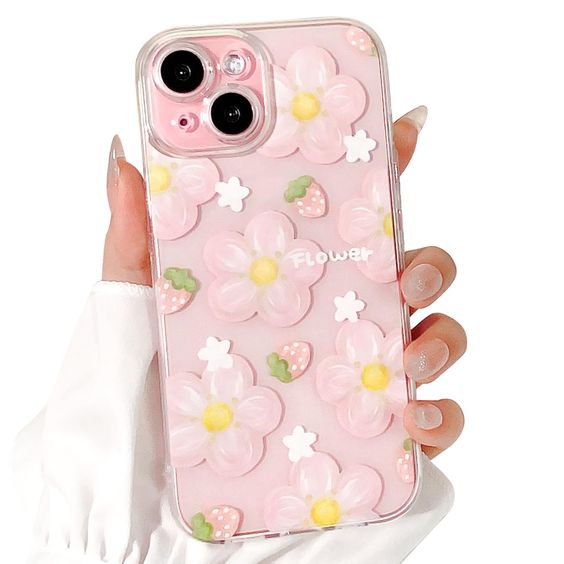
Experiment with Colors: Explore different colored pigments and dyes to create vibrant and eye-catching designs. You can even layer colors for a unique depth effect.
-
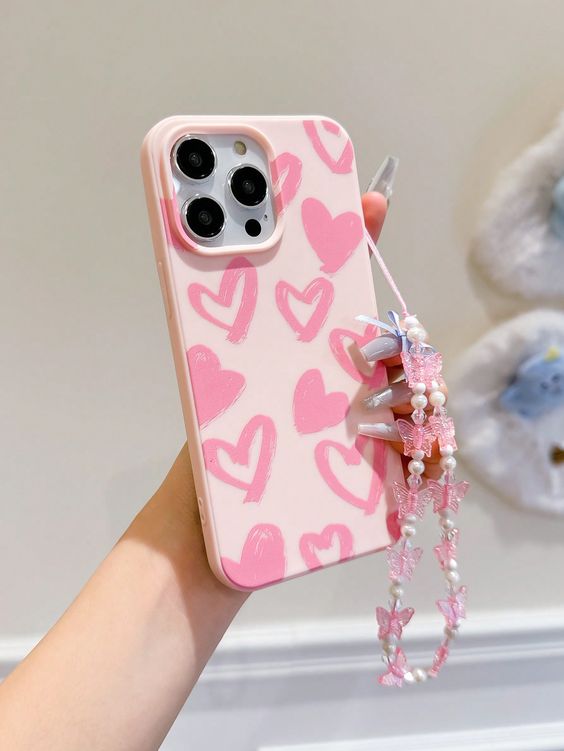
Incorporate Charms: Attach small charms or keychains to your phone case for added personalization and functionality.
-
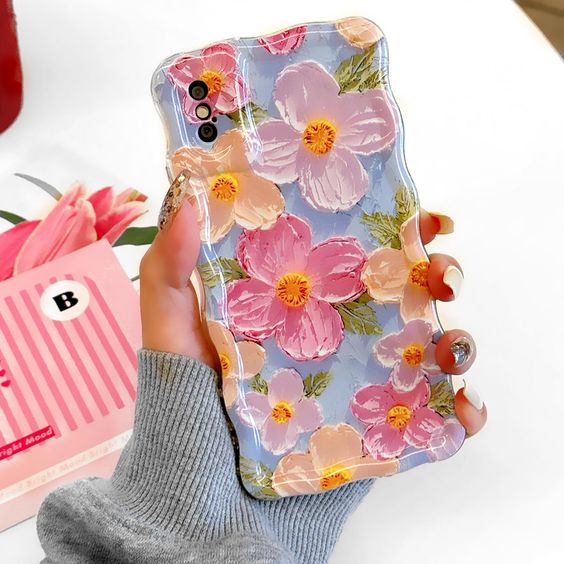
Nature’s Touch: Dried flowers, leaves, or pressed ferns can add a beautiful organic element to your resin creations.
-
Beyond Phone Cases: The possibilities are endless! Apply your newfound resin crafting skills to create coasters, jewelry, keychains, or home décor items.
With a little practice and exploration, you can master the art of resin crafting and personalize various objects, expressing your unique artistic vision through this versatile and rewarding medium.