Encountering issues with a Ryobi battery not charging can be frustrating, especially when you rely on your tools for various tasks. Whether you are a DIY enthusiast or a professional contractor, nothing disrupts productivity quite like a malfunctioning battery. Ryobi batteries, designed for an array of power tools and outdoor equipment, are generally reliable and straightforward. However, problems can arise for many reasons, such as improper charging techniques, battery age, or even faulty chargers. Understanding how to diagnose and resolve these issues can save you both time and money. In this detailed guide, we will explore common reasons why a Ryobi battery may not charge, effective troubleshooting methods, preventative tips, and maintenance strategies to keep the battery in optimal condition. By the end of this article, you will be well-equipped with the knowledge necessary to tackle battery charging issues and keep your Ryobi tools operating at their best.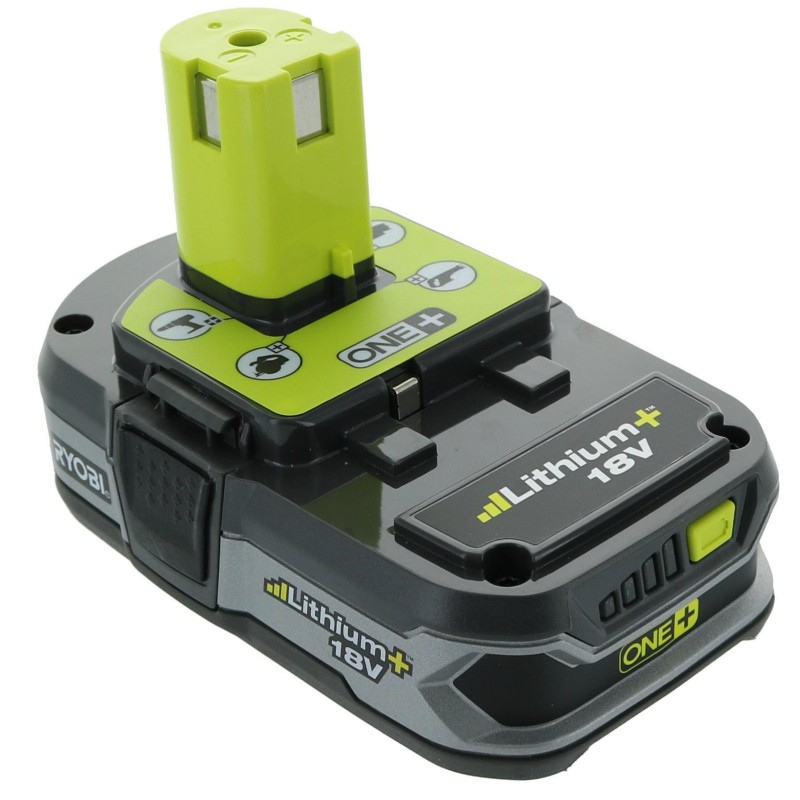
Understanding the Basics of Ryobi Batteries
To properly address charging issues, it is important to understand how Ryobi batteries function.
Types of Ryobi Batteries
Ryobi offers several types of batteries, including lithium-ion and nickel-cadmium (NiCad).
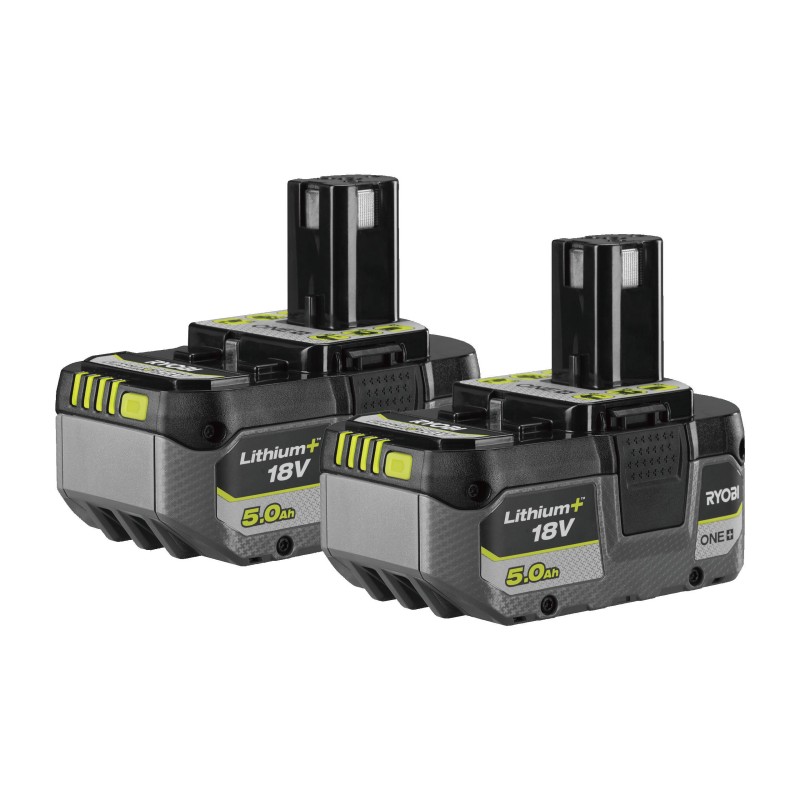
- Lithium-Ion Batteries: These are the most common type used in Ryobi’s newer tools. They are lighter, have a longer runtime, and take less time to charge compared to NiCad batteries. Additionally, they can handle more charge cycles, making them more efficient.
- Nickel-Cadmium Batteries: While typically more affordable, NiCad batteries have some downsides. They tend to have a shorter lifespan, are heavier, and suffer from “memory effect,” which can reduce their overall capacity if not properly charged.
Charging Mechanism
Understanding the charging mechanism can also provide insight into why a Ryobi battery might not charge.
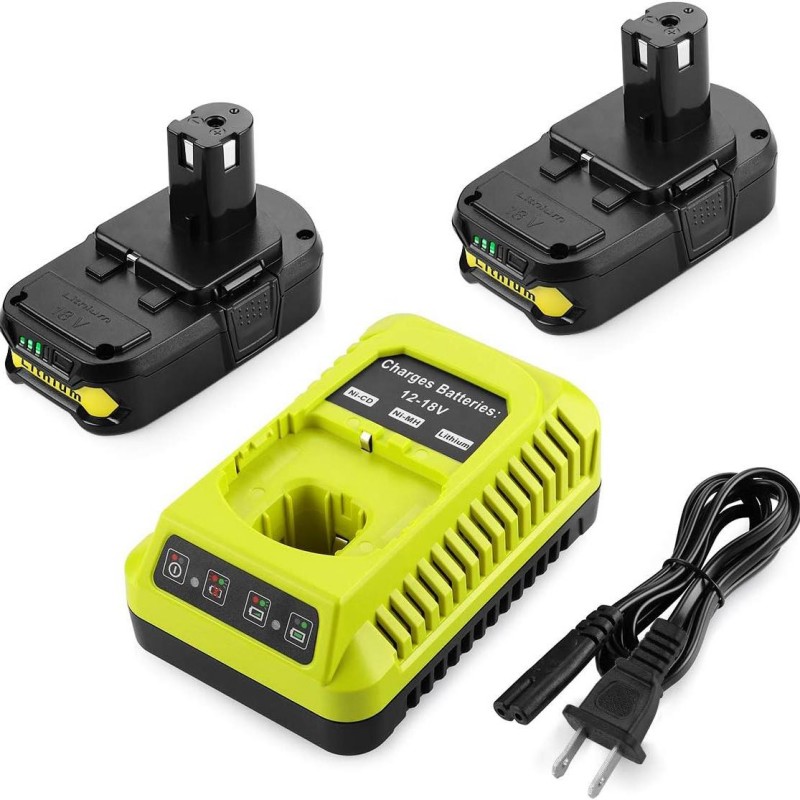
- Charger Compatibility: It is crucial to use the correct Ryobi charger designed for your specific battery type. Using the wrong charger can lead to inefficiency or even damage.
- Charging Cycle: Most Ryobi batteries go through a charging cycle that involves a quick charge, followed by a trickle charge. This process helps to ensure battery longevity.
Common Reasons for Ryobi Battery Not Charging
When faced with a Ryobi battery not charging, identifying the root cause can streamline the troubleshooting process.
Faulty Charger
One of the most common culprits is a faulty charger.
- Damaged Cords: Inspect the charging cord for frayed wires or physical damage. A compromised cord can hinder charging completely.
- Charger Life Span: Chargers can wear out over time due to heavy usage. Regularly check for functionality, especially if the battery itself appears fine.
Battery Age and Wear
Over time, batteries naturally degrade and lose their ability to hold a charge.
- Cycle Count: Every battery has a specific charge cycle limit. Once the limit is reached, the battery may exhibit signs of aging, including poor charging capability.
- Physical Inspection: Look for physical signs of wear, such as swelling or discoloration, which may indicate that the battery is on its last legs.
Improper Charging Technique
Sometimes, the method of charging can lead to issues.
- Crucial Charge Times: Ensure that the battery is charged for the recommended duration. Lifting it from the charger too soon can result in insufficient charging.
- Storage Temperature: Batteries need to be stored in appropriate conditions, as extreme temperatures (both hot and cold) can affect their ability to charge.
Connection Issues
Dirty or corroded contacts can prevent a proper connection to the charger.
- Inspect Contacts: Check both the battery terminals and the charger contacts for grime or rust. A simple clean can often resolve charging problems.
- Secure Fit: Ensure the battery fits snugly into the charger. Loose connections can result in intermittent charging.
Step-by-Step Troubleshooting Guide
When your Ryobi battery is not charging, follow this step-by-step guide to troubleshoot the issue effectively.
Step 1: Inspect the Charger
Begin the troubleshooting process by examining the charger itself.
- Visual Inspection: Check for any visible damage or wear on the charger and cord, looking for fray, cuts, or burnt areas.
- Test with Another Battery: If possible, try charging another battery using the same charger. This test helps determine if the charger is functional.
Step 2: Check the Battery
Next, inspect the battery to identify any potential issues.
- Physical Examination: Look for cracks, punctures, or swelling on the battery. If any physical damage is observed, discontinue use immediately.
- Charge Cycle History: Assess the charge cycle count. If the battery has been charged extensively, it may be time for a replacement.
Step 3: Clean Battery Contacts
Dirty contacts can prevent charging, so cleaning them can be essential.
- Use Isopropyl Alcohol: Dampen a clean cloth with isopropyl alcohol and gently wipe the contacts on both the battery and charger.
- Dry Thoroughly: Ensure that all components are completely dry before attempting to charge again.
Step 4: Test in Ideal Conditions
Environmental conditions can significantly impact battery performance.
- Temperature Check: Charge the battery in a moderate environment. Ideally, this should be between room temperature—around 60°F to 85°F (15°C to 29°C).
- Humidity Levels: Ensure humidity is low; excessive moisture can lead to corrosion.
Step 5: Use a Multimeter
If you’re still facing issues, a multimeter can help diagnose electrical problems.
- Voltage Testing: Set the multimeter to measure DC voltage and test the output voltage of the charger. Compare it to the designated voltage for your battery. If results are lower than expected, the charger may be faulty.
- Battery Voltage: Perform a voltage test on the battery itself. If voltage readings are significantly lower than the rated voltage, it may indicate the battery is dead.
Maintenance Tips to Prevent Future Charging Problems
Taking preventive measures can help prolong the life of your Ryobi batteries and reduce the likelihood of encountering charging issues.
Follow Proper Charging Practices
How you charge your battery can significantly influence its longevity.
- Avoid Deep Discharging: Lithium-ion batteries thrive when kept between 20% to 80% of their capacity. Regularly fully discharging them can shorten their lifespan.
- Charge Immediately: Avoid letting batteries sit in a discharged state for too long. Whenever possible, charge them after each use.
Regular Inspections
Routine checks can catch small issues before they escalate.
- Weekly Visual Checks: Periodically inspect the battery and charger for signs of wear or damage. Catching these in time can prevent more extensive problems.
- Lookout for Performance Changes: If you notice a drop in run time or efficiency, it may be time to investigate further.
Store Batteries Correctly
How you store your batteries can affect their performance.
- Cool and Dry Environment: Store batteries in a cool, dry place away from direct sunlight and extreme temperatures. Humidity can lead to corrosion and other issues.
- Partial Charge for Storage: If you need to store batteries for an extended period, ensure they are stored with a partial charge (around 50-70%).
Use Quality Components
Using genuine Ryobi parts can make a world of difference in performance.
- Stick to Your Brand: Always choose genuine Ryobi batteries and chargers. Aftermarket products might not meet the same safety or performance standards.
- Check Compatibility: Double-check that all components, including any chargers or new batteries, are compatible with your specific devices.
When to Seek Professional Help
Despite your best efforts, there may come a time when you need professional assistance regarding a Ryobi battery not charging.
Persistent Charging Problems
If troubleshooting does not resolve the charging issue, you may need expert help.
- Technical Analysis: Professionals can conduct a thorough analysis of your tools, detecting underlying issues that you might overlook.
- Warranty Assessment: If the battery or charger is within warranty, contacting Ryobi’s customer service can also provide options for repair or replacement.
Safety Concerns
If you notice any signs of swelling, leaks, or significant physical damage, professional help is essential.
- Battery Safety Risks: Damaged batteries pose risks, including the possibility of fire or explosions. Handling them safely and contacting a professional is crucial.
Conclusion
Facing a Ryobi battery not charging can be disheartening, but understanding the causes and solutions opens the door to successful troubleshooting and resolution. Through proper maintenance and awareness, you can prevent issues before they arise. Regular inspection, suitable charging practices, and thoughtful storage go a long way in extending the life of your batteries.
Moreover, knowing when to seek professional help enhances safety and ensures your gear remains reliable. With this comprehensive understanding, you can enjoy the full benefits of your Ryobi tools without interruption. Embrace preventive measures and knowledge, and make battery-related downtime a thing of the past.