Your phone case is more than just a protective shell; it’s a canvas for self-expression! Whether you crave a touch of personalization or a complete artistic makeover, there are countless ways to decorate your phone case and transform it into a unique reflection of your style. This guide dives into a range of decorating techniques, from simple DIY projects to using store-bought embellishments, empowering you to create a phone case that’s truly one-of-a-kind.
Why Decorate Your Phone Case?
Beyond the aesthetic appeal, decorating your phone case offers several benefits:
- Personalization: Stand out from the crowd with a phone case that reflects your individuality. Whether it’s showcasing your favorite artwork, sporting a motivational quote, or displaying a picture of your loved ones, a decorated case allows you to express yourself creatively.
- Protection: While some decorative methods might not offer the same level of protection as heavy-duty cases, adding embellishments can create a slight barrier against scratches and minor bumps.
- Conversation Starter: A unique phone case can be a conversation starter, sparking discussions and revealing shared interests with others.
Dive into Decorating: Exploring Different Techniques
Now that you’re inspired to unleash your inner artist, let’s delve into some popular phone case decorating techniques:
1. Paint Your Own Masterpiece:
Embrace your inner artist and transform your phone case into a miniature canvas. Here’s what you’ll need:
- Acrylic paint pens or small paintbrushes
- Clear phone case (hard plastic or TPU cases work best for painting)
- Painter’s tape (optional)
- Clear sealant spray (optional)
Get Started:
- Clean and dry your phone case thoroughly. Remove any dust or oils that might hinder the paint adhesion.
- Plan your design. Sketch your idea on paper beforehand or use stencils for intricate patterns. Painter’s tape can be used to create clean lines and geometric shapes.
- Apply paint. Start with base colors and gradually add details and layers. Allow each layer to dry completely before applying the next.
- Seal the deal (optional). Once your masterpiece is complete, apply a thin layer of clear sealant spray to protect your artwork from scratches and fading.
2. Unleash the Sticker Power:
Stickers are a fantastic way to add a quick and easy pop of personality to your phone case. Here are some ideas:
- Vinyl stickers: Choose from pre-designed stickers featuring your favorite characters, quotes, or patterns.
- Holographic stickers: Add a touch of shimmer and shine with holographic stickers.
- DIY stickers: Print your own custom stickers using sticker paper and your home printer.
Tips for Sticker Success:
- Clean your phone case before applying stickers. This ensures a smooth and secure bond.
- Coordinate your stickers. Choose stickers that complement each other in terms of color and theme.
- Layer with care. Avoid over-crowding your case, as this can make it look cluttered.
3. Decoupage Delight:
Decoupage involves decorating a surface with cutouts from paper, fabric, or thin napkins. Here’s what you’ll need:
- Decorative paper, fabric, or napkins
- Scissors
- Mod podge or decoupage glue
- Paintbrush
Get Decoupaging:
- Cut out your desired designs. Choose images or patterns that resonate with your style.
- Apply a thin layer of decoupage glue to the back of your cutout.
- Place the cutout onto your phone case and gently smooth out any air bubbles.
- Apply additional layers of decoupage glue over the entire surface to seal the design. Allow each layer to dry completely before applying the next.
4. Washi Tape Magic:
Washi tape, a decorative Japanese masking tape, comes in a vast array of colors, patterns, and designs. It’s perfect for adding a touch of whimsy to your phone case. Here’s how:
- Variety of washi tapes
- Scissors (optional)
Washi Tape Wonders:
- Clean your phone case.
- Unleash your creativity! Create geometric patterns, stripes, borders, or even use washi tape to write messages on your case. The beauty of washi tape lies in its versatility and ease of use. You can easily reposition or remove it without damaging your phone case.
5. Embrace the Stencil Technique:
Stencils offer a foolproof way to create intricate designs on your phone case. Here’s what you’ll need:
- Stencil of your choice (available online or craft stores)
- Acrylic paint or fabric paint
- Small paintbrush or sponge
- Painter’s tape (optional)
Stenciling Savvy:

- Secure the stencil onto your phone case using painter’s tape. This ensures the stencil stays in place while you paint.
- Apply a thin layer of paint using a small brush or sponge. Dab the paint instead of brushing to prevent paint from bleeding under the stencil.
- Carefully remove the stencil and allow the paint to dry completely.
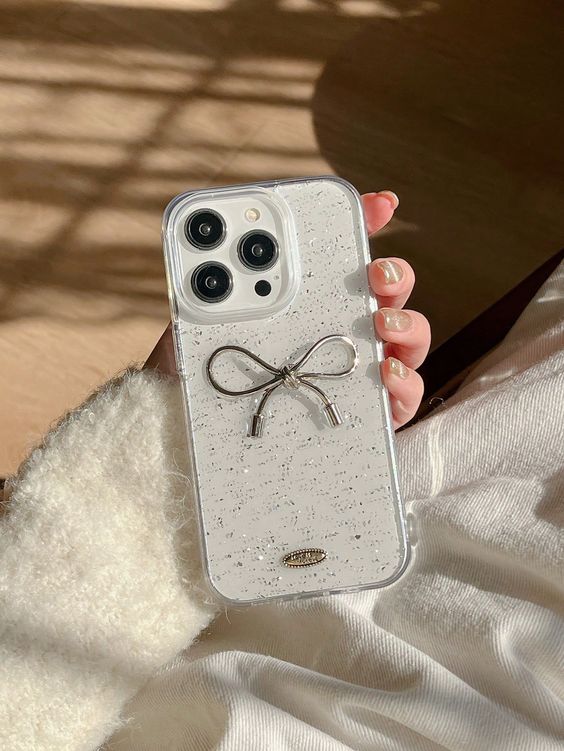
6. Glam Up with Glitter:
For a touch of sparkle and shine, consider incorporating glitter into your phone case design. Here’s how:
- Clear phone case
- Glitter (loose or in nail polish form)
- Clear sealant spray
Get Glittery:
- There are two main approaches. You can either paint a thin layer of clear nail polish containing glitter onto your phone case or use loose glitter.
- For using loose glitter, apply a layer of clear Mod Podge or decoupage glue to the desired area of your phone case.
- While the glue is still wet, sprinkle glitter generously over the area.
- Once the glue dries, gently tap off any excess glitter.
- Apply a final layer of clear sealant spray to secure the glitter and create a smooth finish.
7. Tech Up with Tech-Themed Embellishments:
Embrace your love for technology by incorporating tech-themed embellishments into your phone case design. Here are some ideas:
- Tiny gears, circuit board cutouts, or miniature robot figures (available at craft stores)
- Enamel pins featuring tech icons or logos
Tech-Themed Tips:
- Use strong adhesive glue to secure the embellishments to your phone case.
- For a cohesive look, paint your phone case in a color that complements your chosen embellishments.
8. Nature’s Touch: Pressed Flowers and Botanicals:
Incorporate the beauty of nature into your phone case design using pressed flowers or botanical elements. Here’s what you needed:
- Pressed flowers, leaves, or other botanical elements (dried completely)
- Clear phone case (hard plastic works best for this method)
- Tweezers
- Clear sealant spray
Botanical Beauty:
- Arrange your pressed flowers or botanical elements within the clear phone case. Use tweezers for precise placement.
- Once you’re satisfied with the arrangement, secure the elements in place with small dots of clear craft glue.
- Allow the glue to dry completely.
- Apply a thin layer of clear sealant spray to protect the botanical elements and ensure they stay in place.
Beyond DIY: Explore Store-Bought Embellishments
For those who prefer a more convenient approach, there’s a vast array of pre-decorated phone cases and embellishments readily available:
- Pre-decorated phone cases: These come in a wide variety of styles, designs, and materials, allowing you to find a case that perfectly reflects your taste.
- Stick-on jewels and gems: Elevate your phone case with sparkling jewels and gems that come with adhesive backing for easy application.
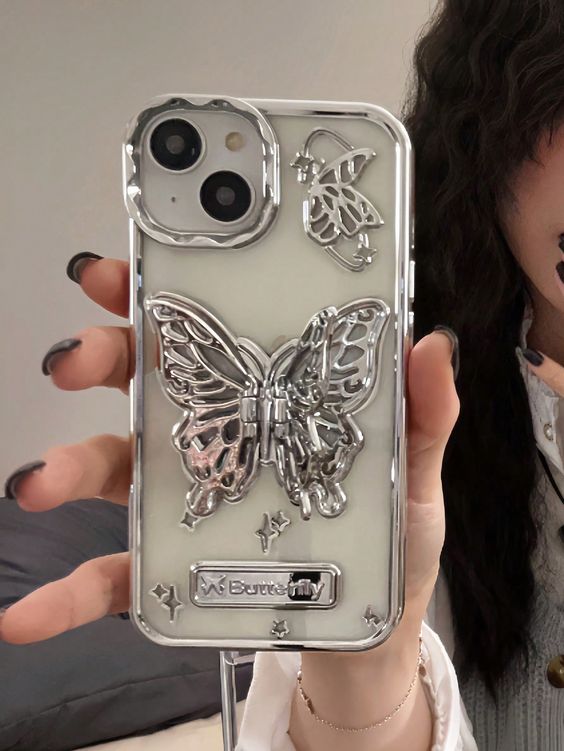
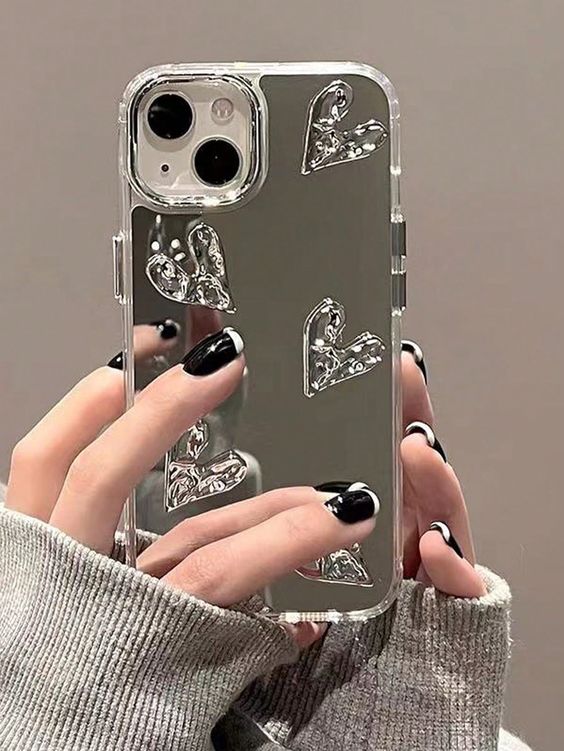
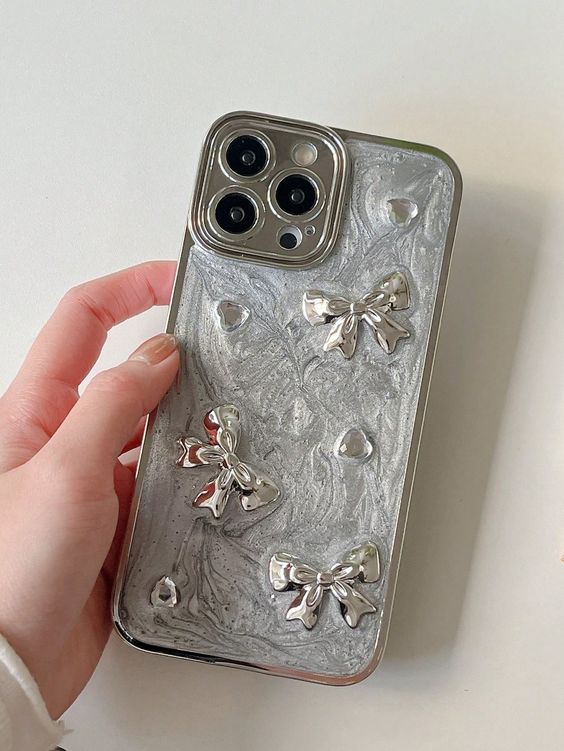
- 3D phone case decorations: These add a touch of dimension and texture to your phone case, featuring characters, animals, or other fun designs.
Showcase Your Style: Pro Tips for Decorating Success
Here are some additional tips to ensure your phone case decorating project is a success:
- Choose high-quality materials. Opt for durable paints, glues, and embellishments to ensure your decorated phone case endures everyday wear and tear.
- Let your personality shine through. Don’t be afraid to experiment and embrace your unique sense of style.
- Consider functionality. While aesthetics are important, ensure your decorations don’t interfere with the functionality of your phone case, such as button accessibility or wireless charging capabilities.
- Seal the deal (optional). Applying a final layer of clear sealant spray can help protect your artwork and embellishments from scratches and fading.
Once you’ve created your one-of-a-kind phone case, don’t hesitate to flaunt it! Share pictures of your masterpiece on social media, inspire others with your creativity, and maybe even spark a new trend.