Ever felt a pang of boredom with your plain old phone cases? Or maybe you’ve cracked your current case and are looking for a stylish and affordable replacement? Look no further than the exciting world of DIY phone case creation! With a little creativity and some readily available materials, you can craft a phone case that’s not only protective but also uniquely reflects your personality.
This comprehensive guide explores various methods for making cell phone cases, catering to all skill levels and preferences. From adorning a simple case with paint to crafting a sturdy case from scratch, you’re sure to find a technique that sparks your imagination.
Gathering Your DIY Arsenal
Before diving into the world of phone case creation, let’s ensure you have the necessary supplies. Here’s a basic breakdown of what you might need, depending on the chosen technique:

- Clear Phone Case: This is a great base for customization projects. You can find clear phone cases in various sizes to fit your specific phone model at most electronics stores or online retailers.
- Decorative Materials: Depending on your chosen technique, you can utilize various embellishments like paints, markers, fabric scraps, washi tape, glitter, stickers, or even dried flowers.
- Adhesive: A good quality craft glue will come in handy for adhering embellishments to your phone case.
- Scissors: You’ll likely need scissors to cut fabric, washi tape, or other decorative materials.
- Paint Brushes (Optional): If you plan on painting your phone case, having a set of paint brushes in different sizes will be helpful.
- Mod Podge (Optional): This versatile sealant can be used to protect your finished phone case and add a glossy finish.
When selecting a clear phone case, opt for one made from a sturdy material like TPU (thermoplastic polyurethane) to ensure better protection for your phone.
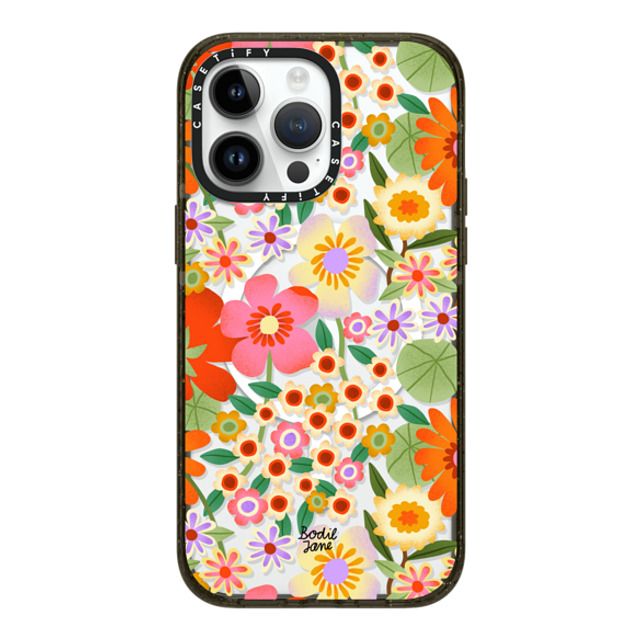
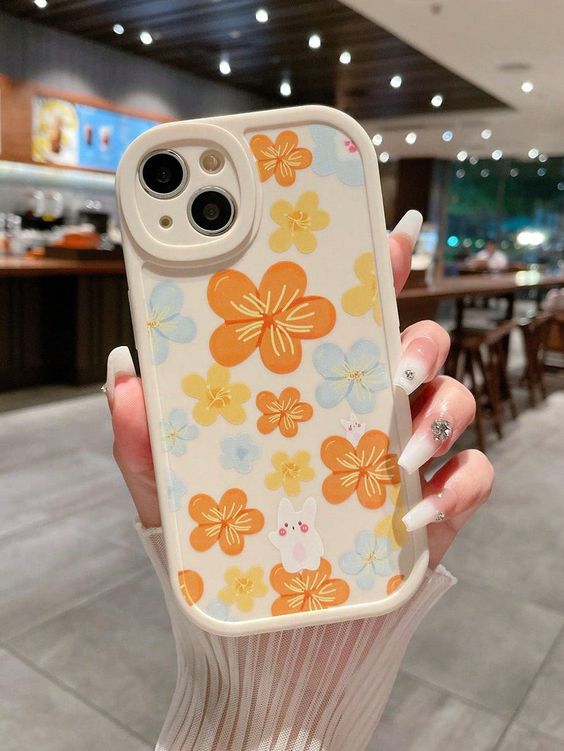
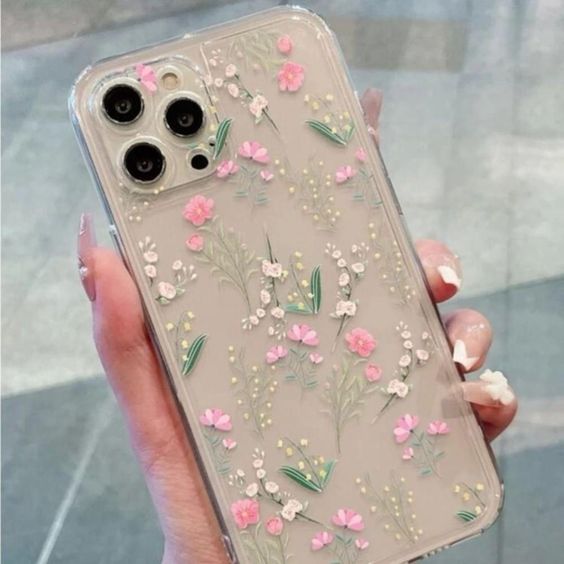
Design Inspiration – Brainstorming Your Dream Phone Cases
The beauty of DIY phone cases lies in their limitless customization possibilities. Before diving into crafting, take some time to brainstorm design ideas. Here are some questions to guide you:
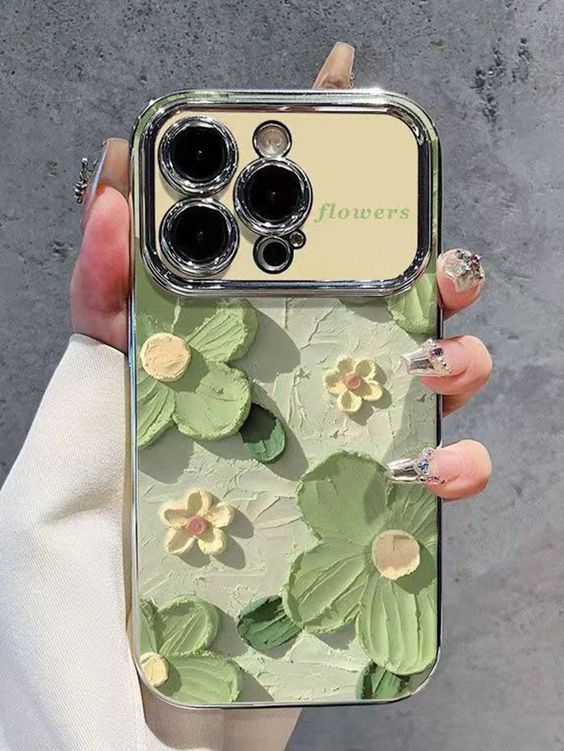
- What aesthetics appeal to you? Do you prefer a minimalist look, a vibrant explosion of colors, or a nature-inspired design?
- What materials do you have on hand? This can be a great starting point for brainstorming. You might be surprised by what creative ideas you can spark using everyday materials.
- Are there any specific themes or patterns you’d like to incorporate? Do you have a favorite movie, band, or video game you’d like to represent on your phone case?
Looking for Inspiration Online? Numerous online resources showcase incredible DIY phone case creations. Social media platforms like Pinterest and Instagram are treasure troves of design ideas. Search for terms like “DIY phone case” or browse hashtags like #phonecasediy to discover a world of inspiration.
Embellishment Extravaganza – Decorating a Clear Phone Cases
This technique is perfect for beginners or those who want a quick and easy phone case makeover. Here’s how to breathe life into a clear phone case using embellishments:
- Clean and Dry Your Phone Case: Wipe down your clear phone case with a lint-free cloth to remove any dust or debris.
- Plan Your Design: Sketch your design on a piece of paper or arrange your embellishments on the case to visualize the final look.
- Get Creative! Depending on your chosen materials, you can paint your case, adhere fabric scraps or washi tape, or create intricate designs using stickers or glitter.
- Let it Dry: Once you’ve applied your embellishments, allow everything to dry completely before using your phone case.
If you’re using paint, apply thin coats and allow each layer to dry completely before adding the next. This helps prevent the paint from smudging or peeling.
Phone Cases Painting Party – Unleashing Your Inner Artist
For those who enjoy expressing themselves through art, painting your phone case is a fantastic option. Here’s a breakdown of the process:
- Prepare Your Workspace: Cover your work surface with newspaper or a plastic sheet to protect it from paint spills.
- Prime the Case (Optional): Applying a thin layer of primer helps the paint adhere better to the plastic surface of the phone case. Let the primer dry completely before proceeding.
- Plan Your Design: Sketch your design on paper or use stencils to create precise patterns. You can also find pre-made phone case painting kits that include stencils and acrylic paints.
- Paint Your Masterpiece: Use acrylic paints for best results on plastic phone cases. Apply thin coats and allow each layer to dry completely before adding the next. This helps prevent the paint from bleeding or smudging.
- Seal the Deal (Optional): Once your painted design is complete and dry, apply a coat of Mod Podge or a clear sealant spray to protect your artwork and add a glossy finish. Let the sealant dry thoroughly before using your phone case.
Crafting from Scratch – Building a Phone Cases with Silicone
For the more adventurous crafters, creating a phone case from scratch using silicone is a rewarding challenge. Here’s what you’ll need:
- Silicone Mold (of your desired phone model): You can find silicone phone case molds online or in some craft stores.
- Silicone Casting Material: Part A and Part B of a two-part silicone casting compound specifically designed for mold making.
- Craft Knife
- Paper Towels
- Optional: Glitter, pigments, or small decorative items to embed in the silicone
Safety Precautions: When working with silicone casting materials, wear gloves and eye protection. Ensure you work in a well-ventilated area and follow the manufacturer’s instructions for safe handling and mixing of the silicone compound.
- Prepare Your Mold: Lightly coat the inside of the silicone mold with a mold release spray to prevent the cast silicone from sticking.
- Mix the Silicone: Following the manufacturer’s instructions, carefully mix parts A and B of the silicone casting material in the designated ratio.
- Pouring the Silicone: Slowly and carefully pour the mixed silicone into the mold, ensuring it fills all the crevices and reaches the edges.
- De-gassing (Optional): Gently tap the sides of the mold to release any trapped air bubbles. You can also use a straw or toothpick to remove any visible air bubbles on the surface.
- Curing Time: Allow the silicone to cure completely in the mold according to the manufacturer’s instructions. Curing times can vary depending on the specific silicone compound used.
Beyond the Basics – Advanced DIY Techniques
The world of DIY phone case creation offers endless possibilities for exploration. Here are some advanced techniques to inspire you:
- Decoupage: This technique involves adhering decorative paper cutouts or fabric scraps to your phone case and sealing them with a clear varnish.
- Polymer Clay Designs: For those comfortable with sculpting, polymer clay allows you to create intricate 3D designs and adhere them to your phone case.
- Wood Phone Cases: For a rustic and natural look, you can find pre-cut wooden phone case blanks that you can paint, stain, or embellish further.
Remember: The key to successful DIY phone case creation is letting your creativity flow! Don’t be afraid to experiment with different techniques and materials to craft a phone case that reflects your unique style.
Unleash Your Creativity and Express Yourself!
Now that you’re armed with a toolbox of DIY techniques, it’s time to unleash your creativity and design your dream phone case! Here are some concluding thoughts to inspire you:

- Embrace Imperfections: DIY projects are all about having fun and expressing yourself. Don’t strive for absolute perfection. Embrace the unique character that comes with handmade creations.
- Make it Functional: While aesthetics are important, remember that your phone case also needs to protect your device. Choose materials and techniques that offer a balance of style and functionality.
- Showcase Your Work: Share your DIY phone case creations with friends, family, or online communities! There’s a great sense of accomplishment in showcasing your creativity and inspiring others.
With a little effort and imagination, you can transform a simple phone case into a cherished personal statement. So, gather your supplies, unleash your creativity, and get crafting!