Creating your own phone cases is a fun and creative way to personalize your device while also saving money. Whether you’re looking to make a unique gift or just want something that reflects your style, making custom phone cases can be both rewarding and satisfying. In this guide, we’ll walk you through the process of designing and making your own phone cases, from selecting materials to adding personalized touches.
Understanding the Basics of DIY Phone Cases
Why Make Your Own Phone Cases?
Making your own phone cases offers several advantages:
- Personalization: Custom phone cases allow you to express your individuality. You can choose colors, designs, and textures that reflect your personal taste.
- Cost-Effectiveness: DIY phone cases can be more affordable than buying pre-made ones, especially if you already have some of the materials on hand.
- Creativity: Crafting your own phone case is a great way to exercise your creativity and make something truly one-of-a-kind.
Materials Needed for DIY Phone Cases
Before you start, it’s important to gather all the necessary materials. Here’s what you’ll need:
- Phone Case Base: Choose a plain phone case that fits your phone model. Silicone, plastic, and rubber are common materials.
- Design Materials: Depending on your design, you may need paint, fabric, stickers, or decals.
- Tools: Scissors, glue, paintbrushes, and markers are essential. If you’re using fabric, a sewing kit might be useful.
Step-by-Step Guide to Making Your Own Phone Case
1. Choose Your Design
The first step in creating a custom phone case is deciding on a design. Here are some ideas to get you started:

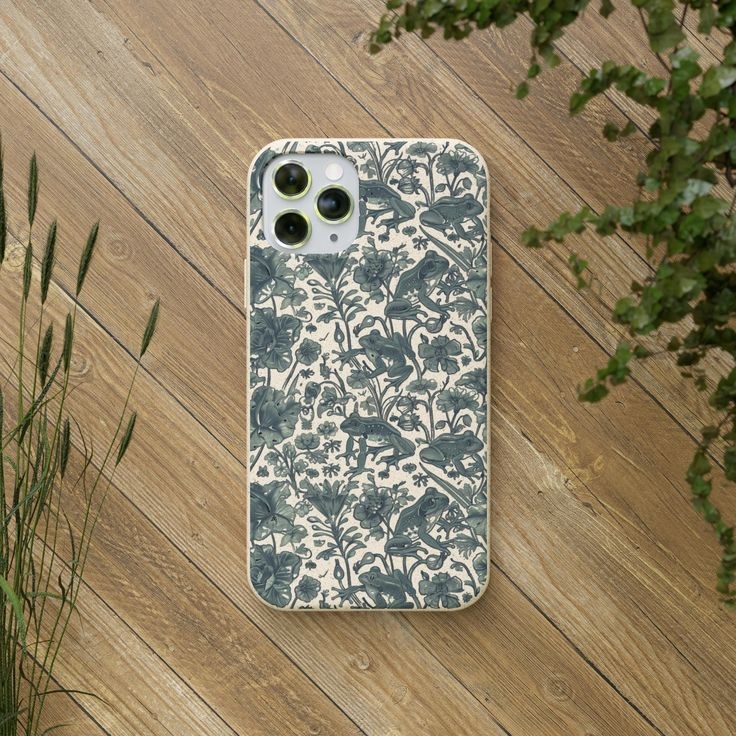
- Patterns and Textures: Think about geometric patterns, floral designs, or abstract art.
- Personal Photos: Use your own photos or images that are meaningful to you.
- Quotes and Text: Add motivational quotes or funny sayings to personalize your case.
2. Prepare Your Materials
Once you’ve decided on a design, gather all your materials. Ensure that you have everything ready before you start crafting. For painting, make sure to lay down a protective cover on your work surface.
3. Apply the Base Layer
If you’re painting your phone case, start with a base layer. This could be a solid color or a pattern. Allow the base layer to dry completely before moving on to additional designs.
4. Add Your Design Elements
With your base layer dry, start adding your design elements. If you’re using stickers or decals, carefully place them on the case. For hand-painted designs, use a fine brush to add details. Make sure to let each layer of paint or glue dry before adding more elements.
5. Seal and Protect
To ensure your design lasts, consider applying a clear sealant over the case. This will protect your artwork from scratches and wear. Allow the sealant to dry completely before using the phone case.
6. Assemble and Enjoy
Once your phone case is dry and protected, it’s time to put it on your phone. Check the fit to make sure everything is aligned correctly and enjoy your custom creation!
Tips for a Successful DIY Phone Case
Choose the Right Base Case
Selecting the right base case is crucial. Make sure it fits your phone model perfectly and provides adequate protection. A case that’s too loose or too tight may not work well.
Test Designs Before Committing
Before applying your design to the case, test it out on a piece of paper or cardboard. This will help you visualize how it will look and make any necessary adjustments.
Use High-Quality Materials
For the best results, use high-quality paints, adhesives, and other materials. This ensures that your design looks professional and lasts longer.
Be Patient
DIY projects require patience. Allow each layer of paint, glue, or other materials to dry completely before adding the next. Rushing the process can result in smudges or uneven application.
Advanced Techniques for Custom Phone Cases
Using Heat Transfer Vinyl (HTV)
Heat transfer vinyl allows you to create intricate designs with a professional finish. Cut your design using a vinyl cutter, then apply it to your phone case using a heat press. This technique works well for detailed graphics and text.
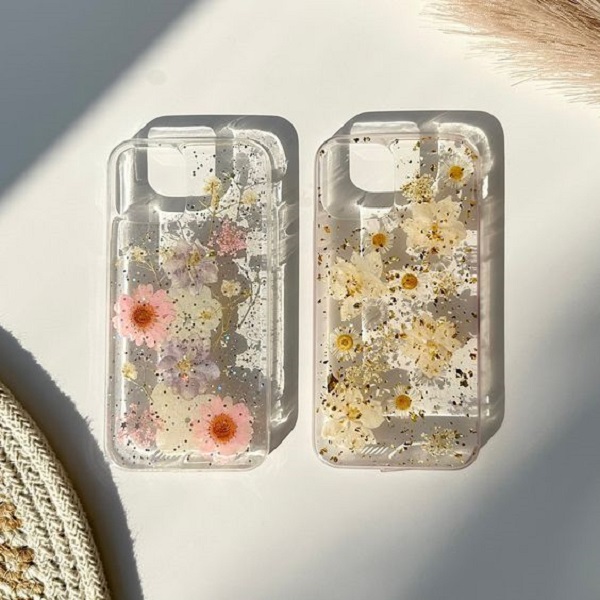
Customizing with Resin
For a unique and durable finish, consider using resin. Apply a layer of resin over your design to create a glossy, protective coating. This method can be used with a variety of embellishments, including glitter and small objects.
Incorporating Fabric
Adding fabric to your phone case can give it a soft, textured feel. Use fabric glue to adhere the fabric to the base case, and trim any excess. This technique works well for creating a cozy or fashionable look.
Where to Buy DIY Phone Case Supplies
You can find phone case supplies at various retailers, both online and in stores. Here are some popular options:
- Craft Stores: Stores like Michaels and Joann Fabrics offer a wide range of materials for DIY projects.
- Online Retailers: Websites like Amazon and Etsy have numerous options for phone case bases, paints, and accessories.
- Specialty Shops: Look for specialty shops that focus on phone accessories and customization tools.
Exploring Additional Creative Ideas for DIY Phone Cases
Upcycling Old Cases
If you have old phone cases lying around, consider giving them a fresh look. Upcycling is a great way to reuse materials and reduce waste. Simply clean the old case, remove any previous designs, and follow the steps in this guide to create a new custom look.
Using 3D Printing
For a high-tech approach, try 3D printing your own phone case. This method allows for intricate and customized designs that might be difficult to achieve with traditional crafting techniques. You can find 3D models online or create your own using 3D modeling software.
Adding Embellishments
Enhance your phone case with various embellishments like rhinestones, charms, or beads. These add-ons can be glued or sewn onto your case for a sparkling, eye-catching effect. Just be sure that any added elements do not obstruct the phone’s functionality.
Painting with Acrylics
Acrylic paints are versatile and can be used to create vibrant, detailed designs. They adhere well to plastic and silicone, making them ideal for phone case customization. Use multiple layers for a richer color and seal with a clear acrylic spray for durability.
Maintenance and Care for Your Custom Phone Case
Cleaning Your Phone Case
To keep your custom phone case looking its best, clean it regularly. Use a soft cloth and mild soap to gently wipe down the case. Avoid harsh chemicals that could damage the design or the case material.
Avoiding Excessive Wear
While your DIY phone case is durable, it’s important to avoid excessive wear and tear. Regularly check for any signs of damage, and replace or repair your case as needed to maintain its appearance and functionality.

Storing Your Phone Case
When not in use, store your phone case in a cool, dry place. This will help prevent any warping or fading of the design. Avoid exposing it to direct sunlight for extended periods.
Common Mistakes to Avoid When Making DIY Phone Cases
Not Allowing Enough Drying Time
One of the most common mistakes is not allowing enough drying time between layers. This can result in smudges or uneven finishes. Be patient and let each layer dry completely before proceeding.
Using Incompatible Materials
Ensure that the materials you use are compatible with each other. For example, some paints may not adhere well to certain types of plastic or silicone. Test your materials on a small area first to ensure proper adhesion.
Overloading with Design Elements
While it’s tempting to add many design elements, sometimes less is more. Overloading your phone case can make it bulky and less practical. Focus on a balanced design that enhances the case without overwhelming it.
Benefits of Custom Phone Cases
Unique Personalization
Custom phone cases offer a level of personalization that off-the-shelf options cannot match. You can create a case that truly reflects your personality and style, making it a unique accessory for your device.
Thoughtful Gift Option
A custom phone case makes a thoughtful and personalized gift. Whether for a friend, family member, or colleague, a DIY phone case shows that you put effort into creating something special just for them.
Boosting Creativity
Engaging in DIY projects like making phone cases can boost your creativity and provide a sense of accomplishment. It’s a fun way to explore your artistic side and develop new skills.
Conclusion
Making your own phone cases is a fun and creative way to personalize your device. By following the steps outlined in this guide and using the tips provided, you can create a phone case that reflects your style and protects your phone. Whether you’re making a case for yourself or as a gift, the process is sure to be rewarding.