Ever craved a phone case that reflects your unique style? Tired of generic designs and mass-produced options? Look no further! Creating your own phone cases with pictures is a fantastic way to personalize your device and express yourself.
This guide delves into everything you need to know about crafting phone cases with pictures, from selecting the perfect photo to achieving a flawless finish. Whether you’re a seasoned crafter or a curious beginner, this comprehensive approach empowers you to design one-of-a-kind phone cases that stand out.
Picking the Perfect Picture for Your Phone Cases
The first step in your phone case design journey is choosing a captivating image. Here are some key considerations:
- Image Resolution: Ensure your chosen picture boasts high resolution to prevent pixelation and blurry prints on the final case.
- Composition: Select an image with a clear focal point and avoid overly busy compositions that might translate poorly onto a smaller canvas.
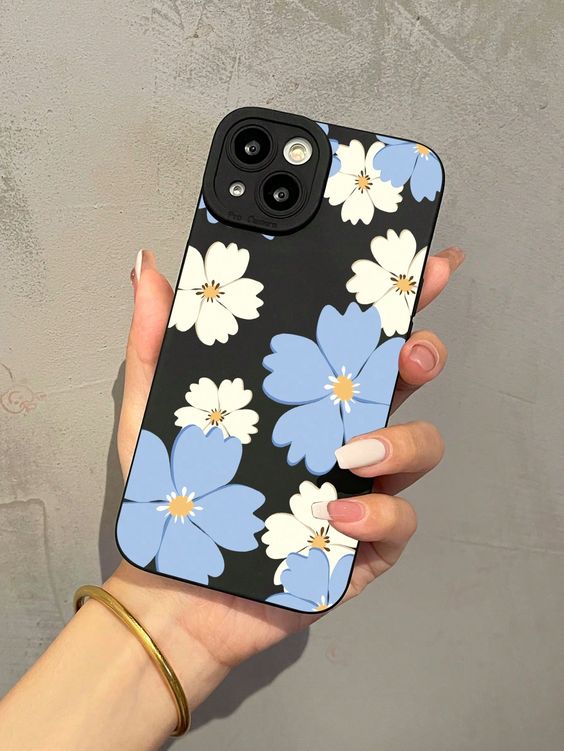
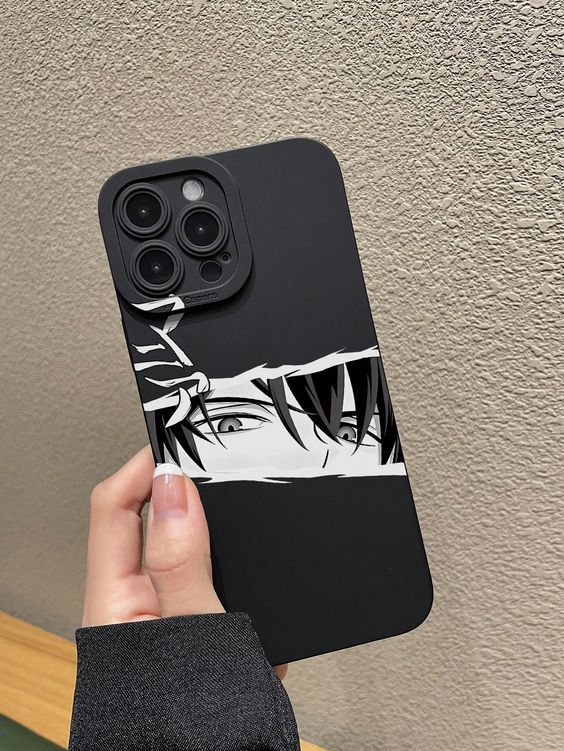
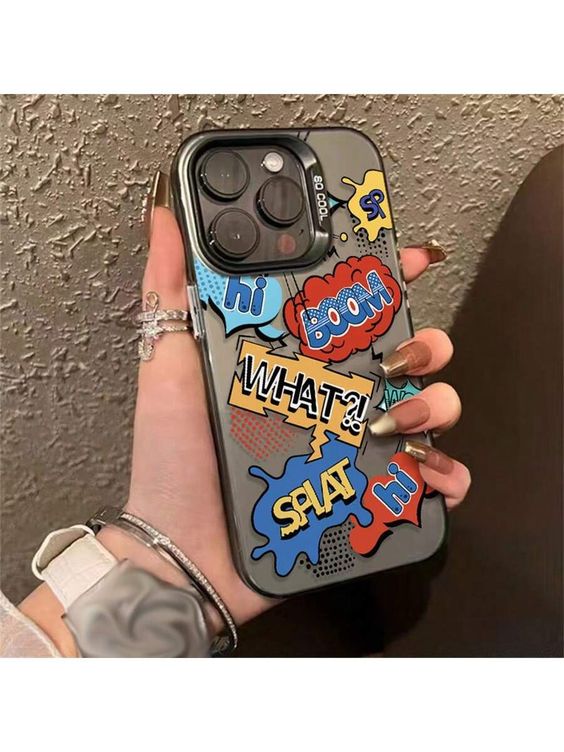
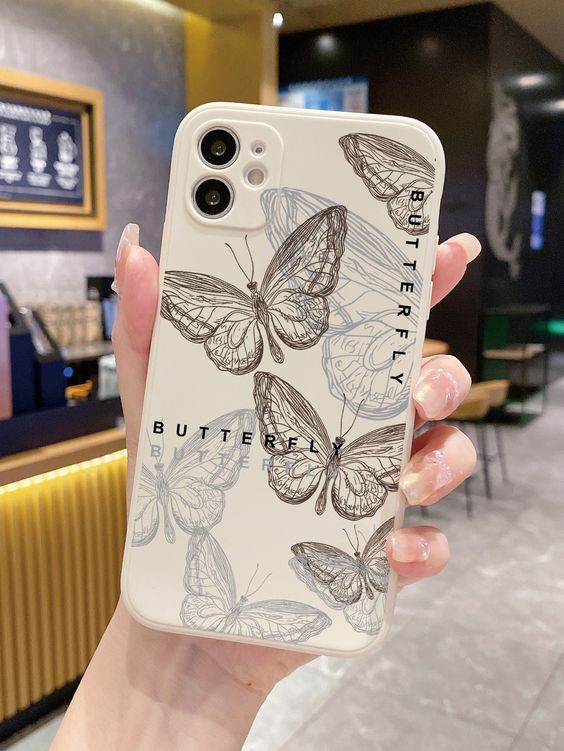
- Color Scheme: Consider how the image’s colors will complement your phone model and personal style. Opt for vibrant hues for a bold statement or softer tones for a more subtle aesthetic.
- Personal Significance: For a truly special touch, choose a photo that holds sentimental value. It could be a picture of your family, a cherished pet, or a breathtaking landscape you captured.
Editing tools like Photoshop or free online platforms like Canva can enhance your chosen image by adjusting brightness, contrast, or adding text for a personalized touch.
Exploring DIY Methods for Creating Phone Cases with Pictures
There are several approaches you can take to personalize your phone case with pictures. Let’s explore some popular DIY techniques:
- Decoupage: This classic method involves adhering a printed picture onto a clear phone case using Mod Podge, a multi-purpose glue and sealant.
- Print and Cut: Print your chosen image on printable vinyl sheets sized specifically for your phone model. Carefully cut out the design and adhere it to the phone case.
- Fabric Transfers: Find iron-on transfer sheets designed for fabrics like light cotton or canvas. Print your image onto the transfer sheet and iron it directly onto a plain fabric phone case.
Safety Note: Always follow the manufacturer’s instructions when using adhesives, sealants, or heat transfer methods.
Unveiling the Magic of Sublimation Printing
Sublimation printing is a popular method for creating professional-looking phone cases with pictures. Here’s a breakdown of the process:
- Design Software: Utilize design software like Adobe Photoshop or free online design tools like Canva to create your phone case design.
- Mirror Image: Ensure your image is flipped horizontally before printing, as the image gets transferred in reverse during the sublimation process.
- Sublimation Paper: Print your mirrored design onto special sublimation paper designed to withstand high temperatures.
- Heat Press: Invest in a heat press specifically designed for phone case sublimation. This machine applies high heat and pressure, transferring the design from the sublimation paper onto the phone case blank.
Durability Advantage: Sublimation printing produces vibrant, long-lasting designs that are scratch and fade-resistant.
Choosing the Right Materials for Your DIY Project
The success of your phone case project hinges on selecting the appropriate materials. Here’s a breakdown of essential supplies:

- Phone Case Blank: Select a clear phone case for decoupage or print-and-cut methods. For sublimation printing, choose a phone case blank specifically designed for this process.
- Scissors or Craft Knife: Opt for sharp scissors or a craft knife for precise cutting, especially when using the print-and-cut method.
- Adhesives and Sealants: For decoupage, choose a high-quality Mod Podge or a similar decoupage medium.
- Printable Vinyl Sheets: If using the print-and-cut method, invest in printable vinyl sheets compatible with your home printer.
- Fabric Phone Case (Optional): For fabric transfers, choose a plain fabric phone case made from light cotton or canvas.
- Iron (Optional): If using fabric transfers, ensure you have a functioning iron to set the design.
- Sublimation Paper and Heat Press (Optional): For creating professional-looking cases, invest in sublimation paper and a heat press specifically designed for phone case customization.
Material Matters: Using high-quality materials helps ensure a flawless finish and extends the lifespan of your personalized phone case.
Step-by-Step Guide to Creating Your Phone Cases with Pictures (Decoupage Method)
Now that you’ve gathered your materials, let’s dive into the decoupage process:
-
Prepare Your Workspace: Choose a clean, well-ventilated area with a flat surface covered in newspaper or scrap paper to protect it from glue.
-
Clean and Dry the Phone Case: Wipe down your phone case with a lint-free cloth dampened with rubbing alcohol to remove any dirt, dust, or oils that might hinder adhesion. Allow the case to dry completely before proceeding.
-
Print and Cut Out Your Image: Print your chosen picture on regular printer paper. Carefully cut out the image, leaving a thin border of white around the edges if desired.
-
Arrange and Apply Mod Podge: Place the picture on the phone case to determine the ideal position. Once satisfied, apply a thin layer of Mod Podge to the back of the picture using a foam brush. Gently smooth out any air bubbles or wrinkles with the brush.
-
Adhere the Picture: Carefully lay the picture onto the desired area of the phone case, pressing down gently to ensure proper adhesion. Smooth out any remaining air bubbles using your fingers or a soft cloth.
-
Apply Top Coats: Once the first layer of Mod Podge dries completely (refer to drying instructions on the product label), apply two to three additional thin coats of Mod Podge to the entire phone case surface, including the sides and the picture. Allow each coat to dry thoroughly before applying the next.
Embellishing Your Phone Cases for an Extra Touch
Once you’ve mastered the basic decoupage technique, you can explore various embellishments to elevate your phone case design:

- Glitter: Sparkle it up! After applying the first layer of Mod Podge to your picture, sprinkle fine glitter on the wet adhesive before it dries. Gently tap off any excess glitter once dry.
- Stencils and Paints: Utilize stencils and acrylic paints to add decorative patterns, quotes, or initials to your phone case.
- Embellishments: For a touch of whimsy, consider adhering small buttons, beads, or dried flowers onto your phone case using a strong craft glue.
When using embellishments, ensure they are securely attached and won’t interfere with the functionality of your phone’s buttons or ports.
Unleash Your Creativity and Design Your Dream Phone Cases!
With a little planning and creativity, you can transform a plain phone case into a unique masterpiece. This guide equips you with the knowledge and techniques to embark on your phone case design adventure. So, unleash your inner artist, grab your favorite picture, and get crafting!